

 1.4.10.2 - Norsk Data utility, Pace
|
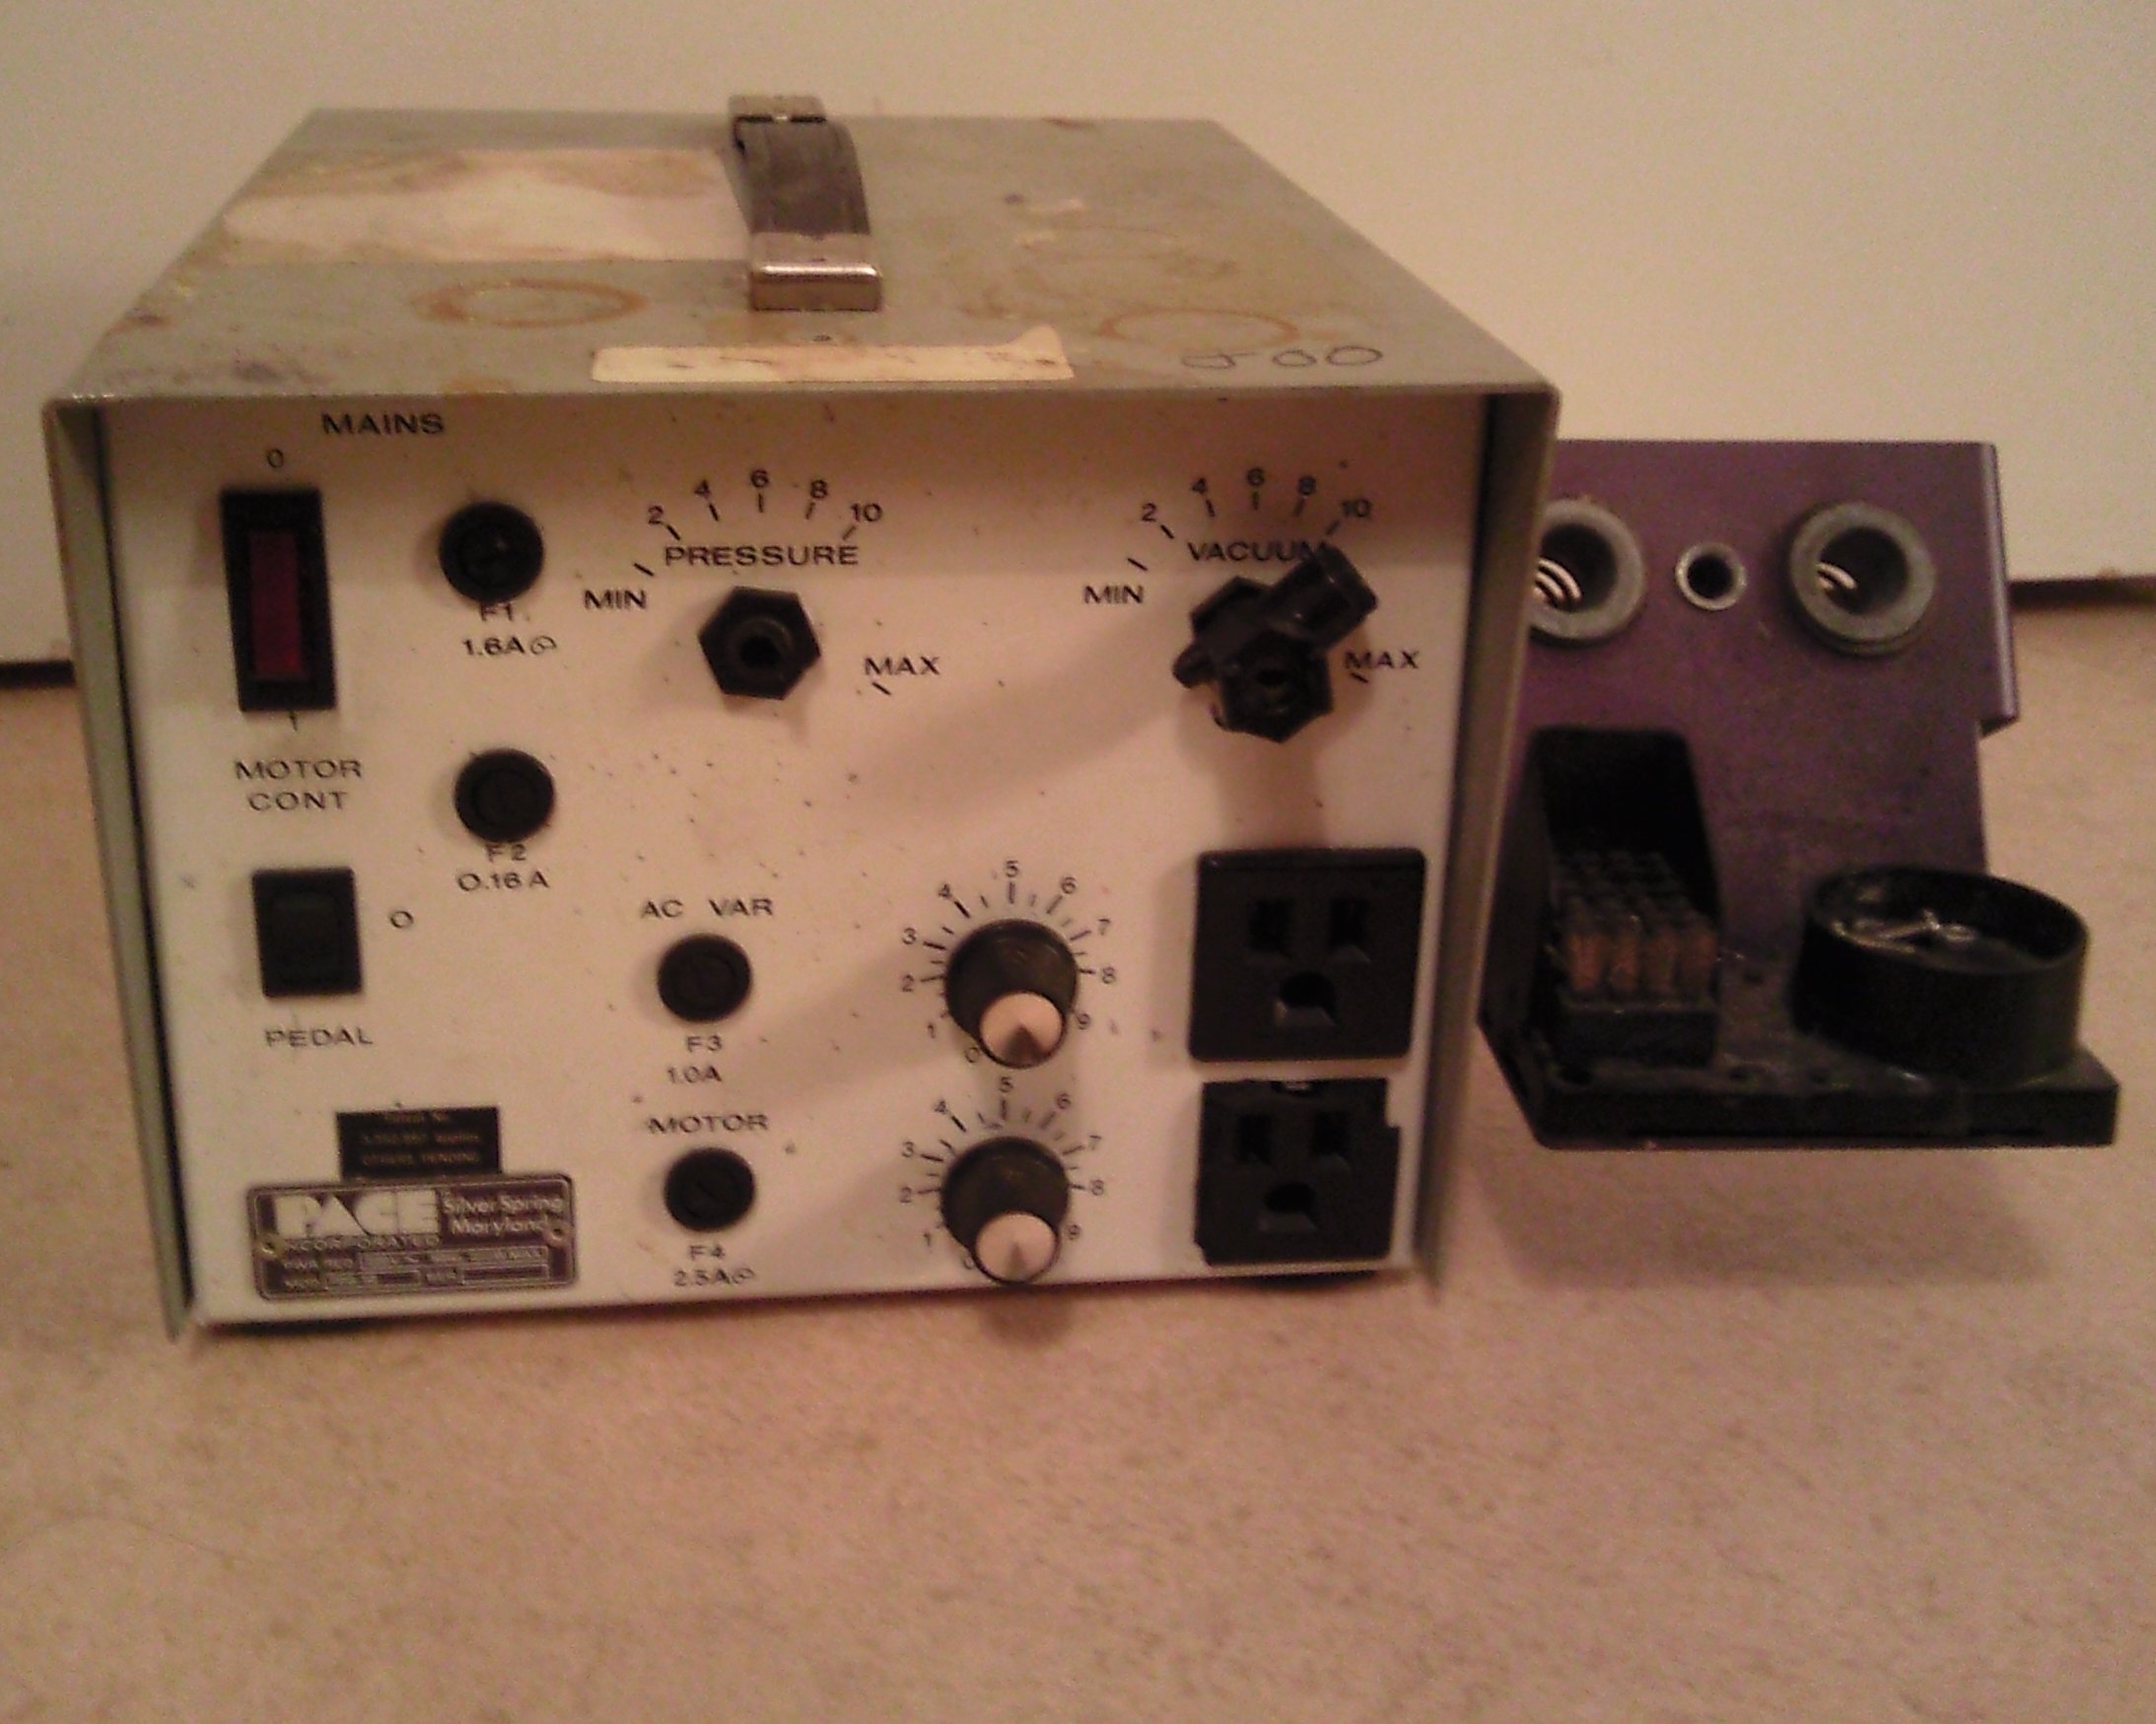
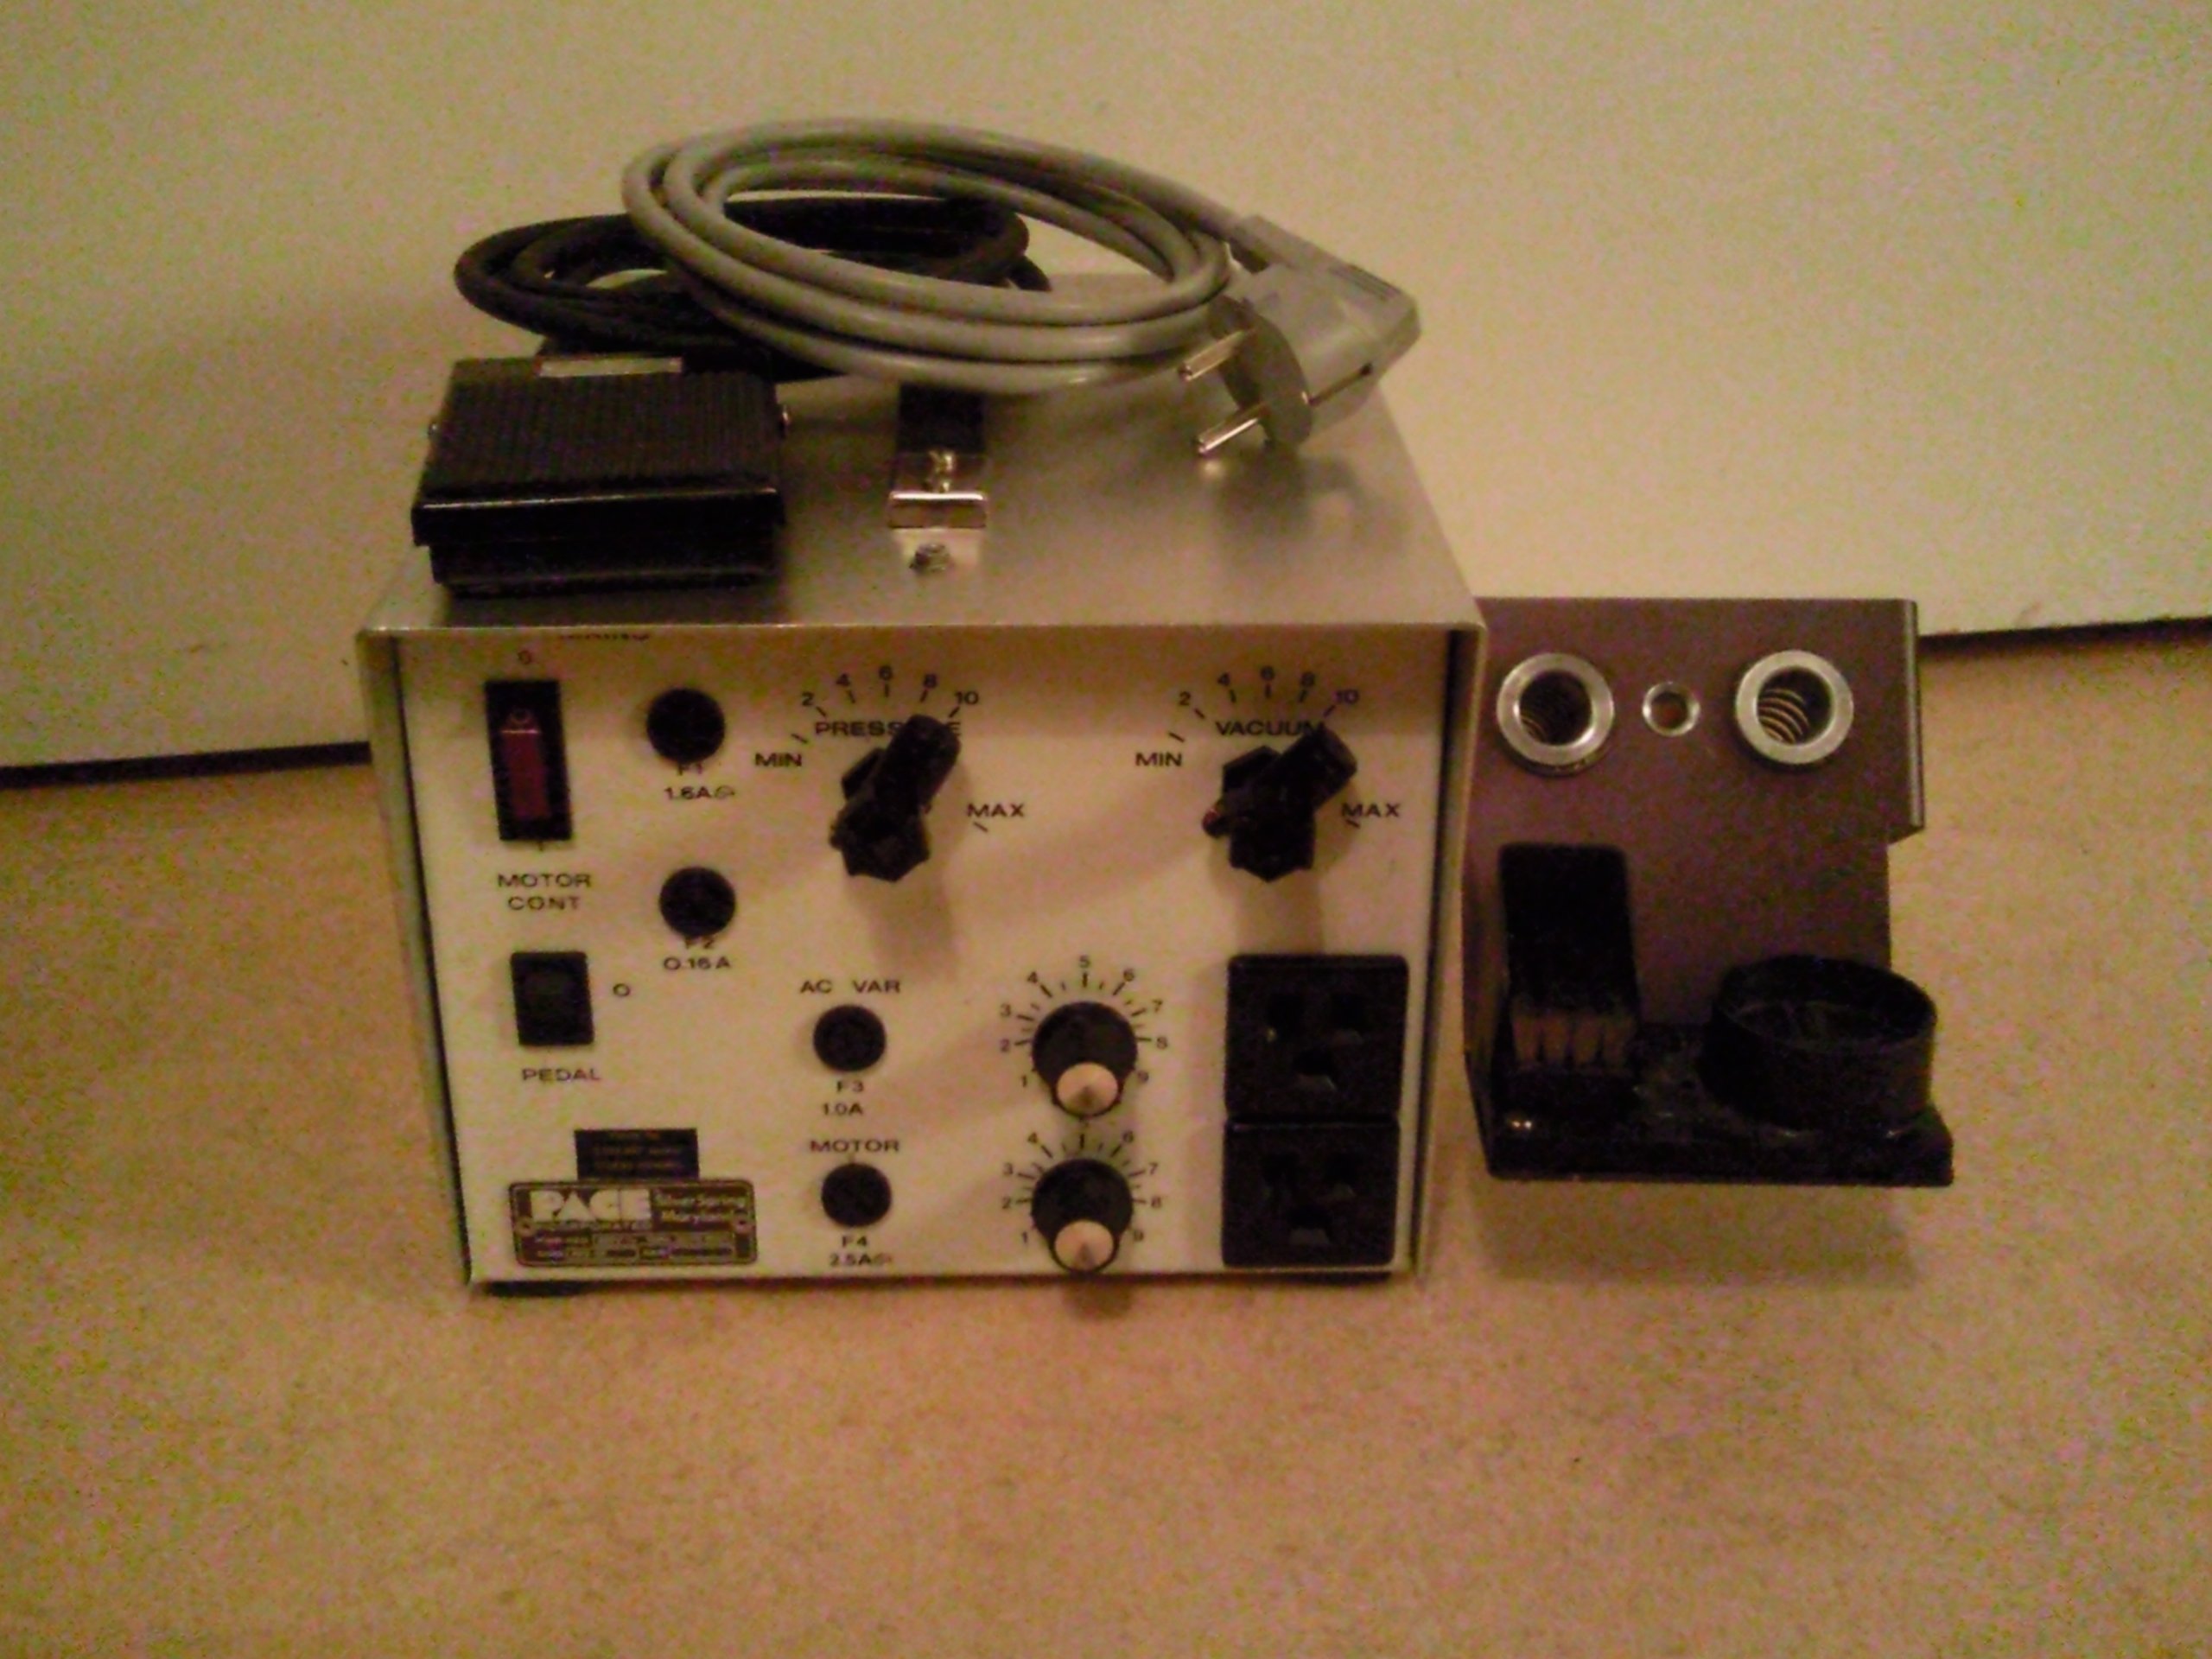
Our version is for 220 V~, 50 Hz, 220W MAX. It was not in a good condition, some parts were broken and it was very dirty, but it worked. Since I like to take things
apart, it was not long before it was completely dismounted. Now I can refurbish all the parts before reassembling the soldering station.
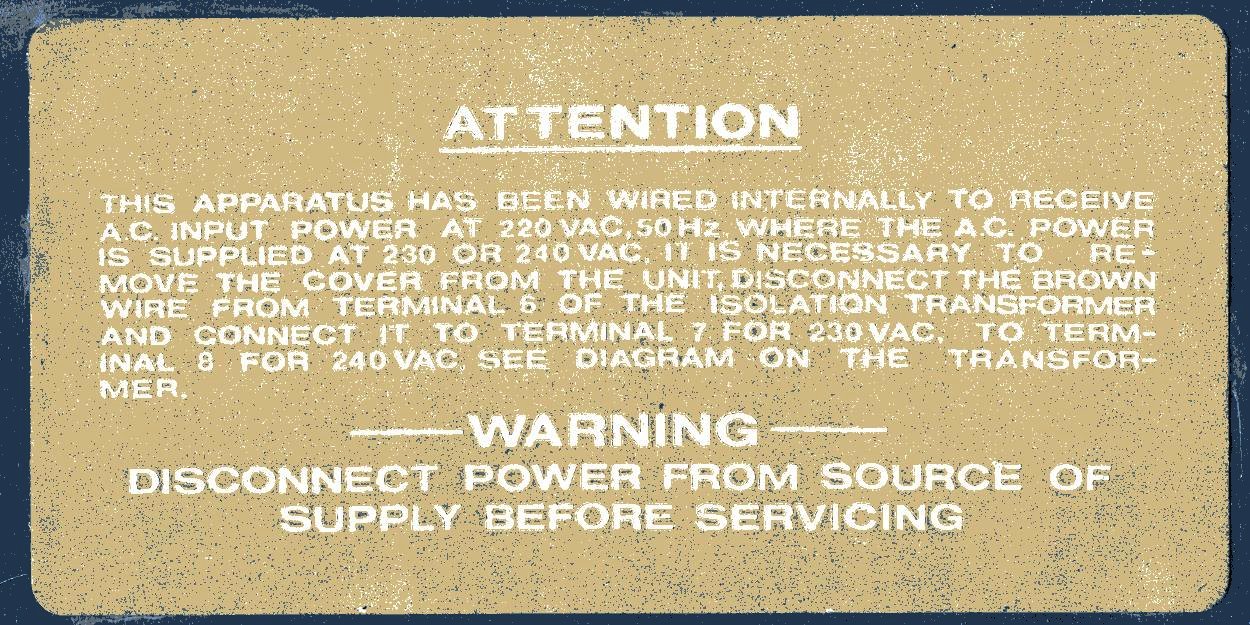
The label on the back of the top cover describes how to connect to different voltages. This is also described with a diagram on the transformer on the inside, but the diagram is missing.
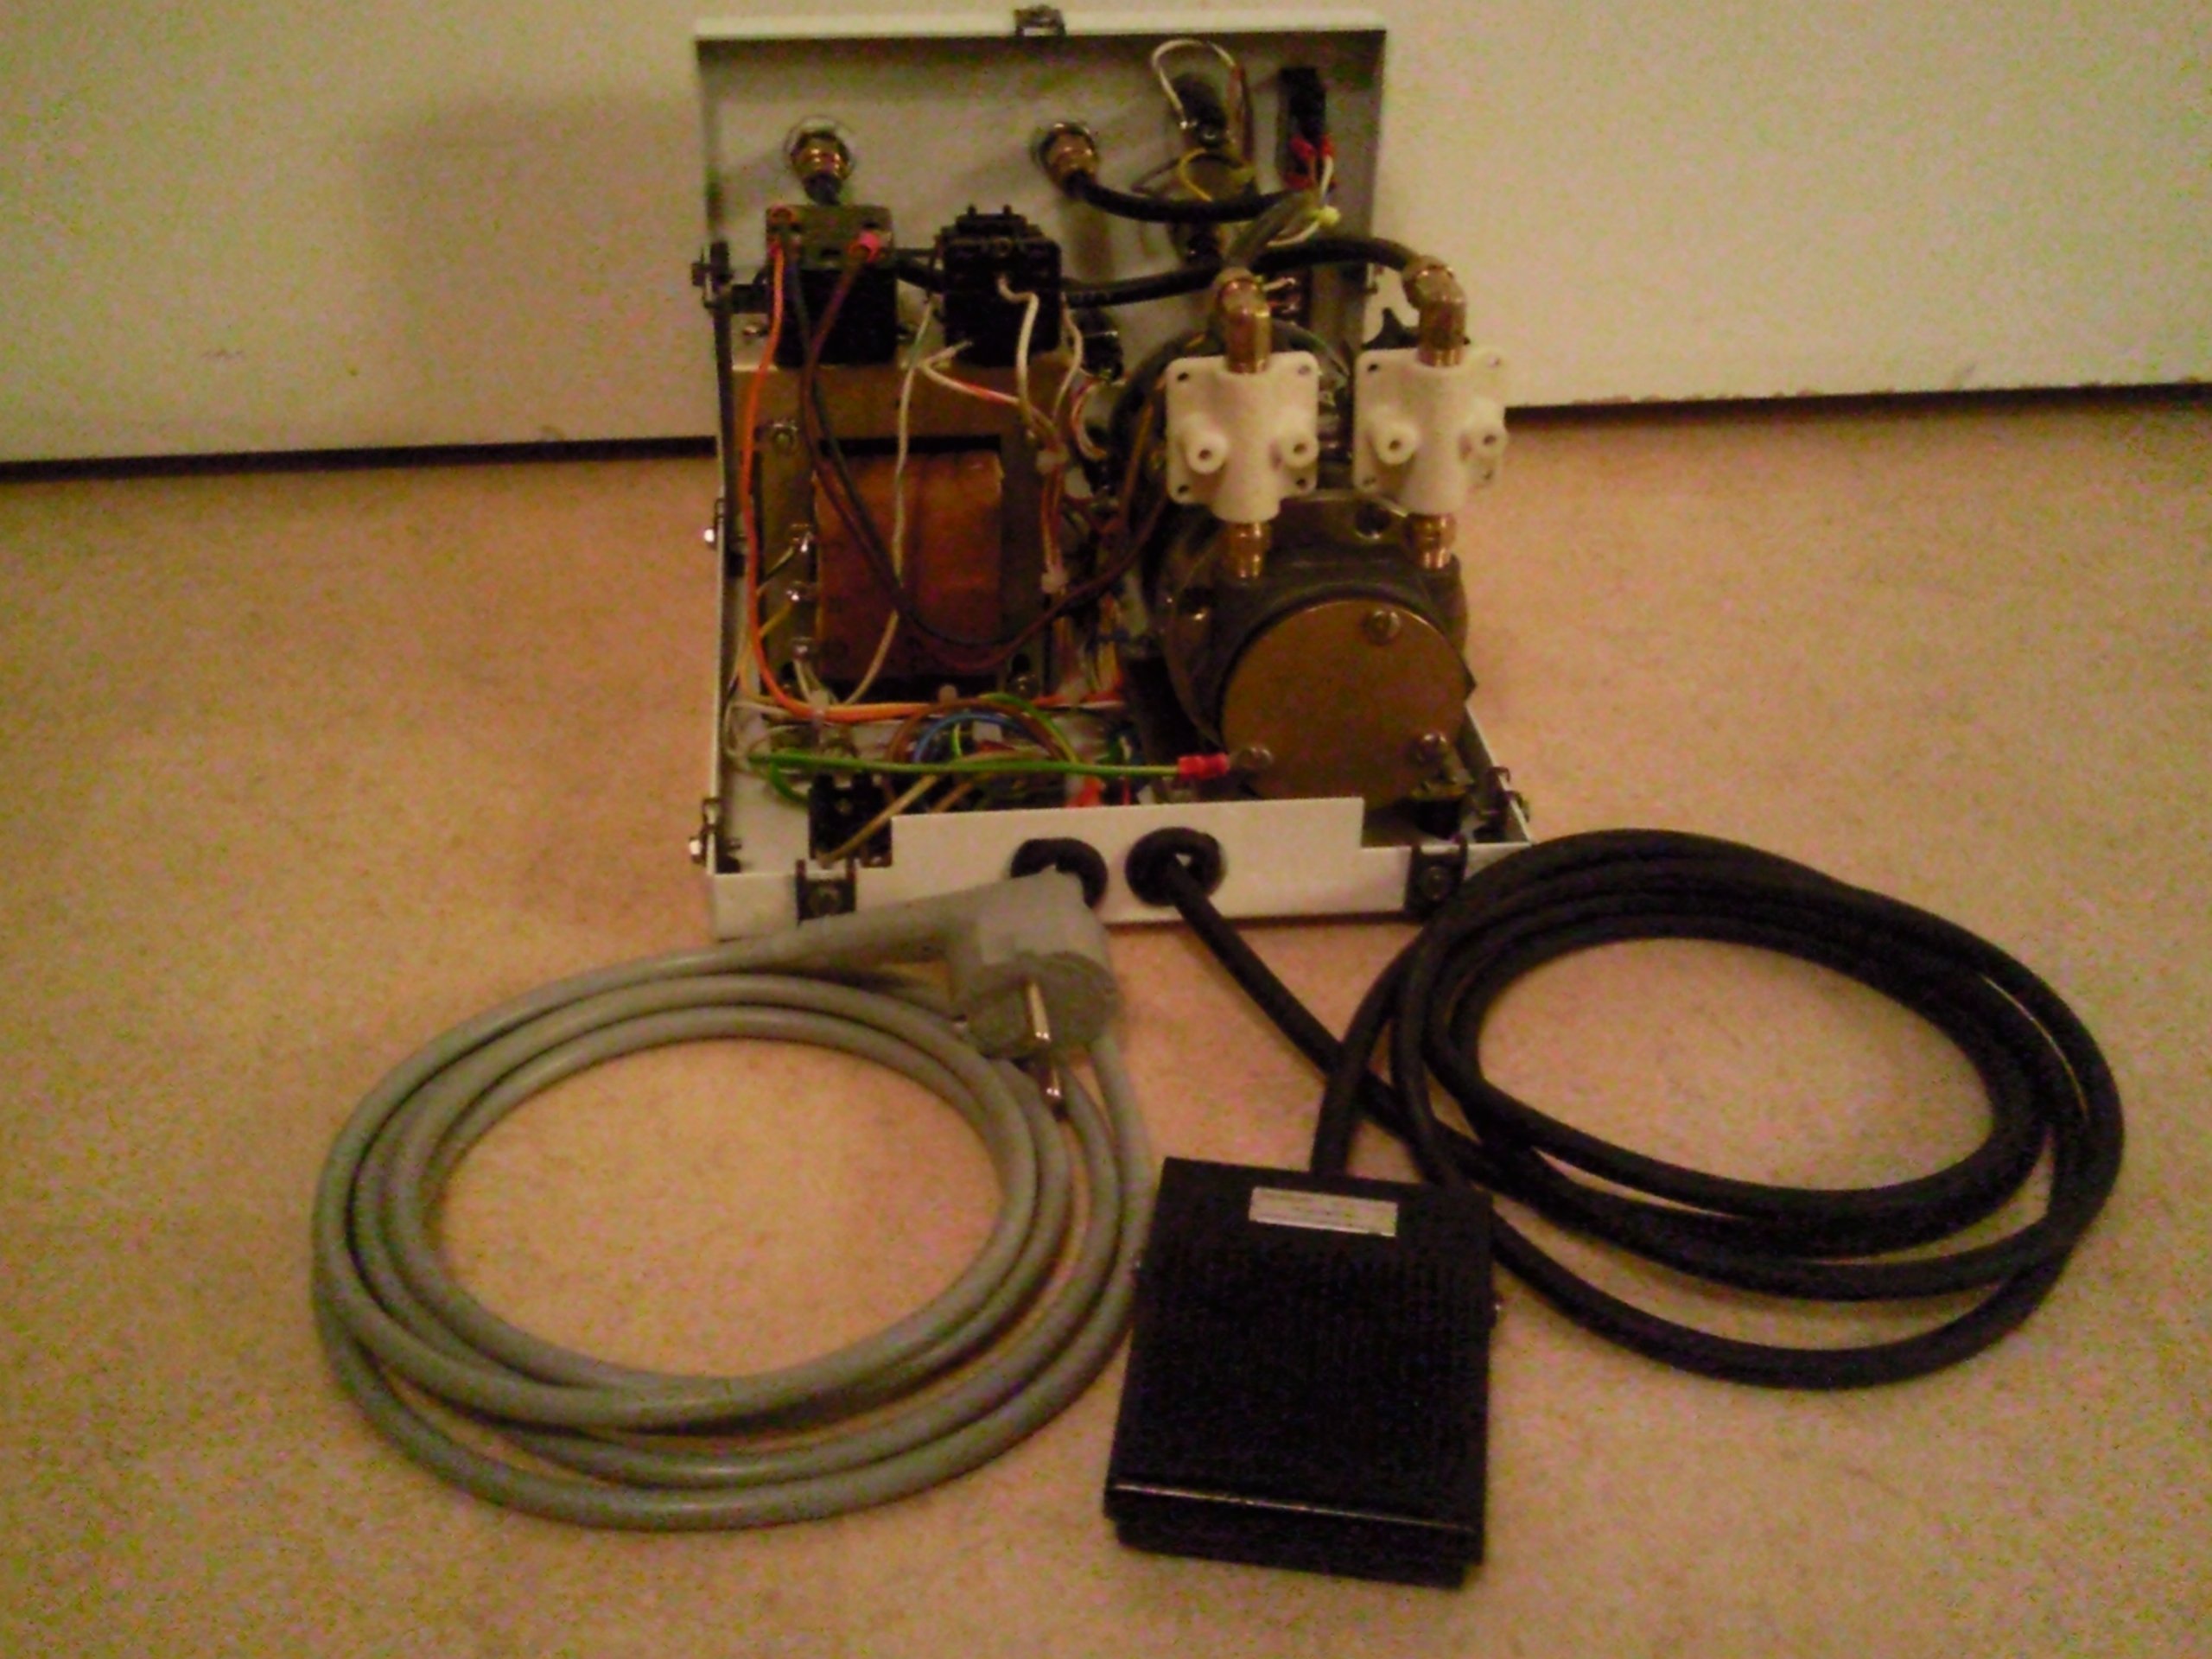
All the small parts are reassembled onto the chassie and the wiring are also soldered back on again. Now I have to put together and put back the transformer and the motor with the vacuum/pressure pump. The pump has new air filters (not shown on the picture) as the old ones were very very dirty. The loose impeller blades are also changed due to they were pretty worn.
During the work on the restoration I make drawings and notes as an aid in reassembly. These notes can be found here as a PDF file (in Norwegian only). Now I just have to refurbish the soldering iron and I got myself a nice soldering station. |
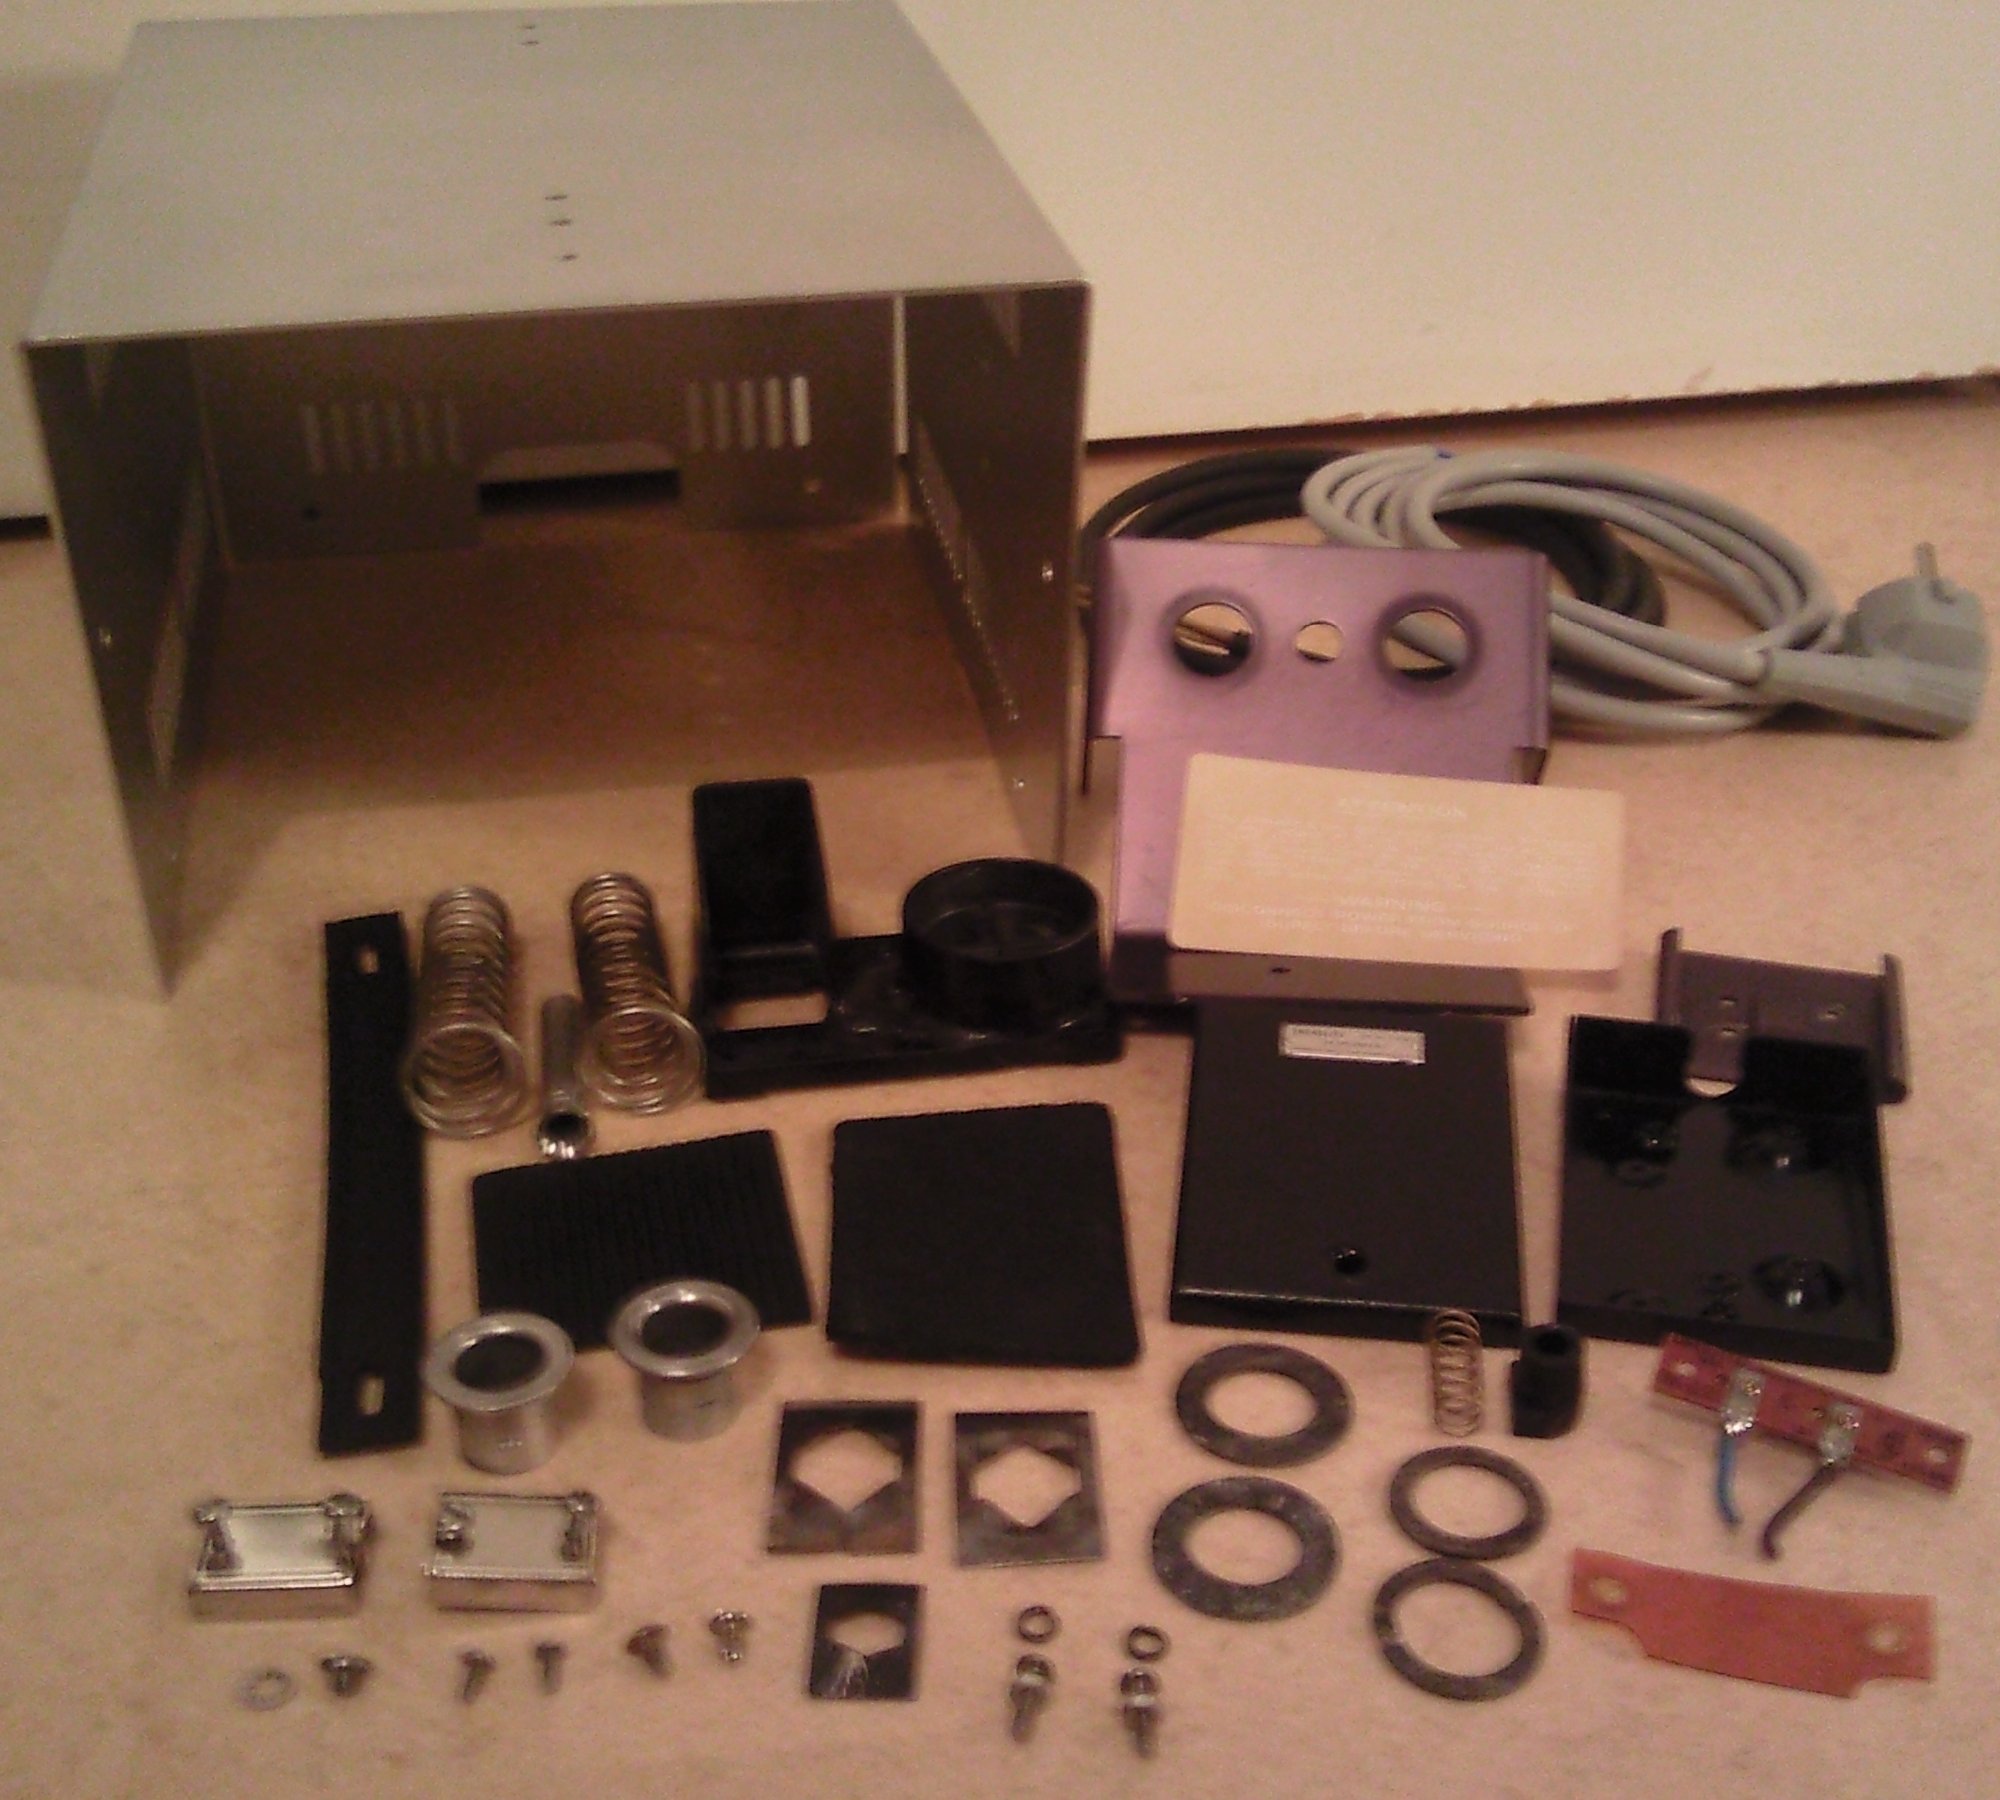
Here are all the pieces of the top cover, external cables, etc. ready for assembly, all parts are now cleaned, and some are painted. External cables are replaced, the old ones were no longer usable due to damaged insulation.
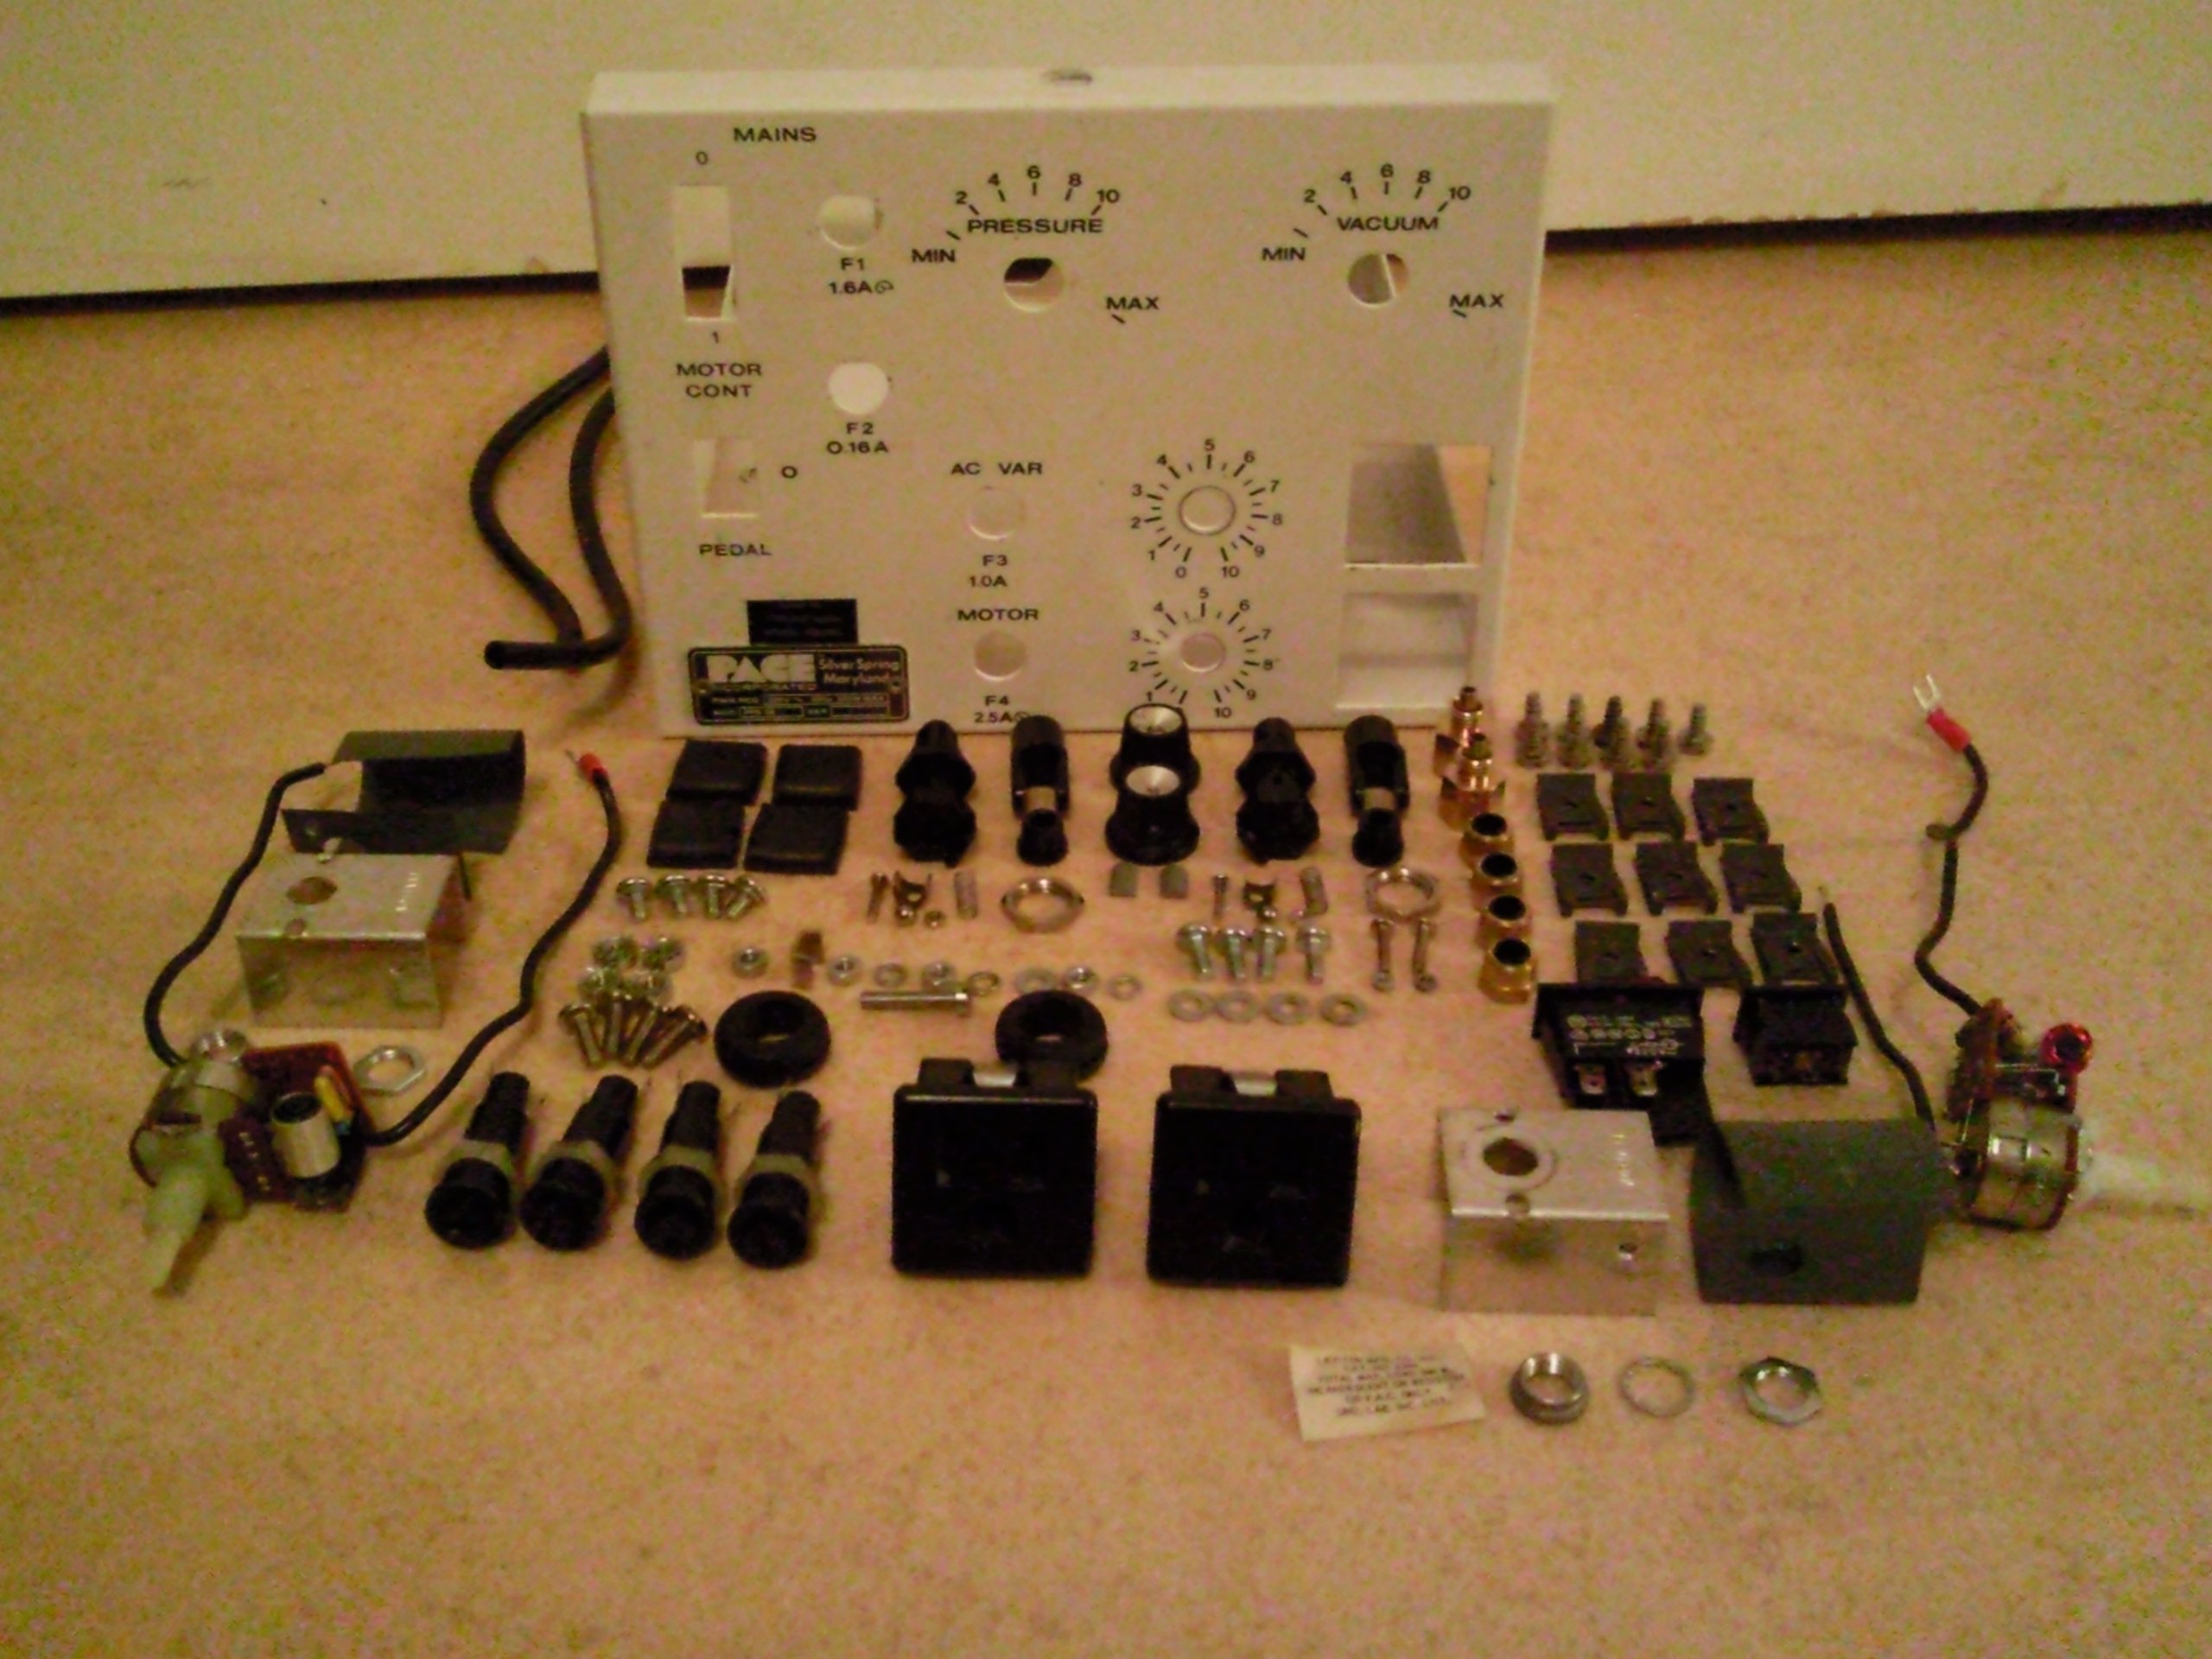
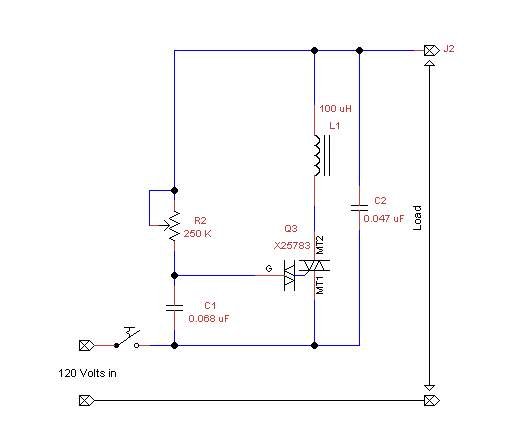
Here we have the chassis with all the different parts as switches, regulators, fuses, etc. All the parts are cleaned and checked, ready to be mounted again. Damaged parts like a hose connection and two power connections for the soldering iron have been replaced. The power control to the soldering iron has been opened and this is a simple triac (X25783) regulator, equal to what you often find in a light dimmer. Here is a typical 120 volt usage of this triac.
The entire soldering station is now completely renovated and put back together. I think this was pretty good work and it works just fine too, not bad.
|
